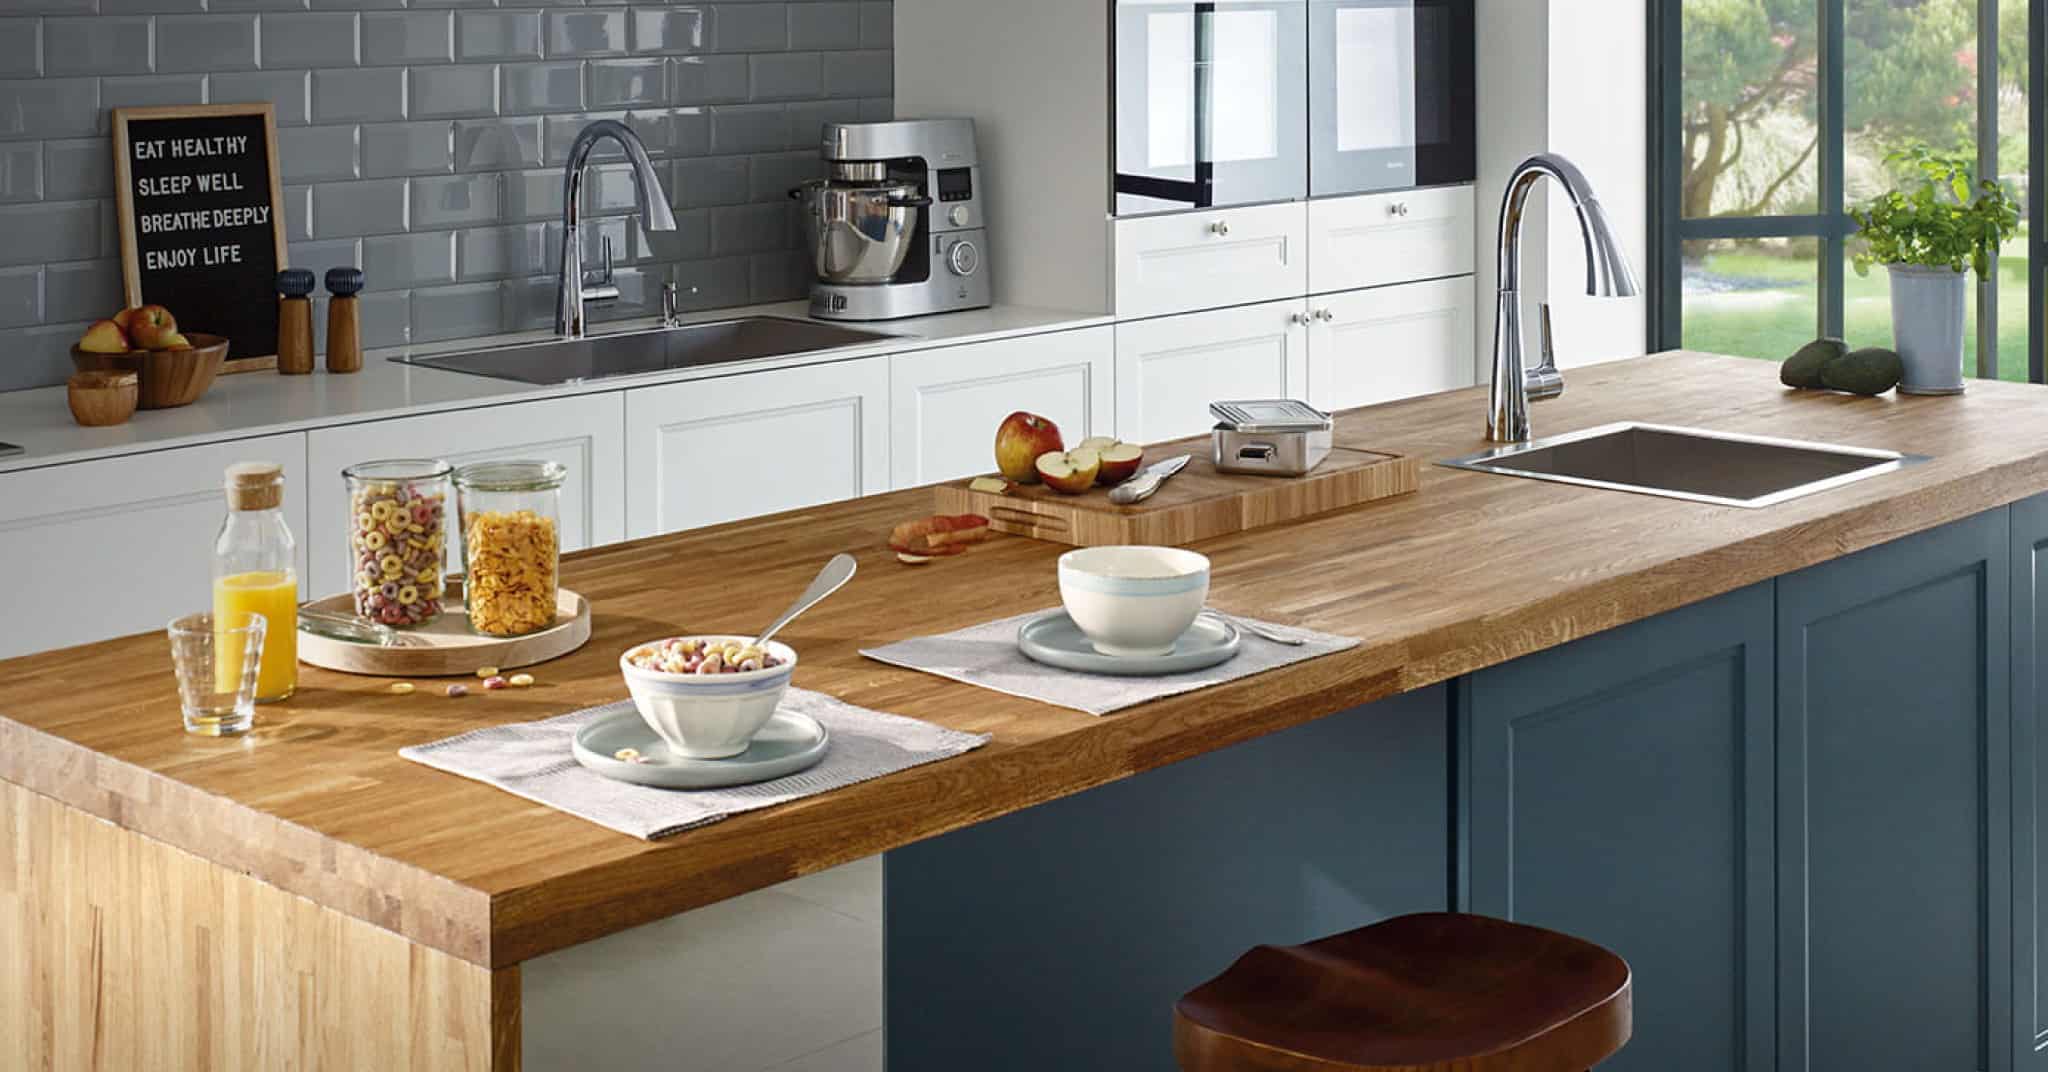
Kitchen Island Ideas: How to Upgrade Your Island for More Style, Storage, and Seating
8 Kitchen Island Upgrades for Style, Storage & Seating
The kitchen island anchors daily life at home. It functions as a prep station before dinner, a homework spot after school, and the central gathering zone when friends come over.
When a kitchen island lacks clear layout planning or adequate functionality, it quickly becomes a cluttered catch-all. Whether you want to upgrade a builder-grade kitchen island, maximize a compact footprint with small kitchen island ideas, or plan a full remodel with custom kitchen island ideas, making intentional design choices converts your island into the most hardworking feature in your home.
Below are eight practical kitchen island upgrade ideas to bring greater efficiency, seating comfort, and style to your space.
1. Pair a High-Performance Faucet with a Dedicated Prep Sink
Adding a kitchen island with sink shifts primary prep tasks away from main wall countertops, preventing workflow bottlenecks between the stove and refrigerator. A secondary prep sink allows one person to wash produce or prep ingredients while another handles dish cleanup at the main sink.
To make a central sink area work effortlessly, select a fixture built for durability and precision control. The GROHE Zedra pull-down faucet stands out as an industry benchmark:
- Triple-Spray Versatility: Switch between a soft aerated flow for pot filling, a standard spray for daily rinsing, and a high-force blade spray to clear stubborn debris from plates.
- Ergonomic Arc: The flared spout head fits naturally in your hand, offering maximum reach across wide basin corners.
- Resilient Finishes: Available in StarLight Chrome, SuperSteel Infinity, and Matte Black to complement surrounding cabinetry hardware.
For additional utility, pair your sink with a workstation basin that includes built-in ledge accessories like cutting boards, colanders, and silicone drying racks.
2. Optimize Seating Heights and Knee Clearances
Creating a functional kitchen island with seating requires accurate sizing to ensure comfortable legroom and smooth traffic flow around the room. Standard counter-height setups (36 inches tall) call for 24 to 26-inch stools paired with 12 to 15 inches of countertop overhang. If you prefer a raised bar height (42 inches tall), use 28 to 30-inch stools with 10 to 12 inches of overhang. Lower table-height sections (30 inches tall) need 18 to 20-inch chairs alongside a generous 18-inch overhang.
Proportional Planning Tips
- Allow Proper Width: Budget 24 inches of horizontal counter width per seated person so elbows never feel cramped.
- Ensure Walkway Clearance: Maintain 36 to 48 inches between stool backs and adjacent walls or cabinets so family members can walk past without turning sideways.
- Consider Support Corbels: Overhangs exceeding 12 inches on granite or quartz slabs require hidden steel support brackets or carved wood corbels to hold weight safely.
3. Establish Purposeful Specialty Zones
Instead of treating the island as a plain flat surface, assign specific functions to distinct sides. Partitioning your layout keeps guest interaction separate from hot cooking or sharp prep areas.
- Beverage & Coffee Bar: Position an undercounter beverage fridge, coffee grinder, and mug pull-out drawer on the outer edge of the island. Guests can serve themselves without entering your primary cooking path.
- Baking Center: Lower a section of the island counter to 30 inches and install a smooth marble slab. The lower height provides ideal leverage for rolling dough or kneading pastry.
- Child-Friendly Homework Zone: Add accessible low-level storage drawers on the dining side for school supplies, charging cords, and activity books.
4. Layer Your Kitchen Island Lighting
Proper kitchen island lighting ideas blend overhead task illumination with ambient mood lighting to set the tone for cooking and dining.
Hanging Guidelines for Pendant Lights
- Height Above Counter: Hang the bottom of pendant fixtures 30 to 36 inches above the countertop surface.
- Spacing Rules: Position pendants 24 to 30 inches apart, keeping fixtures at least 6 inches inward from the outer edges of the island.
- Lighting Control: Install dimmable LED fixtures so you can switch from high-visibility task lighting during dinner prep to warm, dim lighting during evening gatherings.
Design Tip: Combine pendant fixtures overhead with dimmable LED under-counter strip lighting along the toe-kick. Toe-kick lights highlight your floor finish and serve as a soft nightlight.
5. Add Integrated Power Outlets and Charging Hubs
Modern kitchen islands demand reliable power for small appliances, laptops, and mobile devices. A plain builder-grade island often misses strategic outlet placements.
- Pop-Up Power Grommets: Flush-mounted counter outlets pop up when needed and push flat when you need uninterrupted workspace.
- End-Panel Outlets: Match outlet covers to your cabinet finish or stain so electrical plates blend out of sight.
- In-Drawer Charging Stations: Keep counters clutter-free by putting USB-C ports inside top drawers for phones, tablets, and rechargeable kitchen tools.
- Garbage Disposal Switches: If you install a sink, add a countertop air switch button near the faucet for quiet, safe disposal operation.
6. Install Specialty Built-In Appliances
Relieve main wall congestion by shifting secondary appliances directly into your island cabinetry. A microwave drawer in the lower island cabinets removes high-placed heating units from upper walls, making hot dishes safer to reach for everyone. Undercounter wine or beverage refrigerators keep cold drinks handy without taking up main fridge space. You can also integrate warming drawers to keep side dishes hot before dinner or add panel-ready dishwashers directly alongside your prep sink to conceal cleanup stations.
7. Maximize Cabinet Storage Efficiency
A great custom kitchen island combines deep storage with smart interior organization. Simple box cabinets lead to lost items in back corners; custom inserts keep every tool accessible.
- Deep Roll-Out Drawers: Replace standard hinged doors with heavy-duty full-extension drawers for heavy pots, pans, and mixing bowls.
- Vertical Tray Dividers: Organize cookie sheets, cutting boards, and serving platters vertically to avoid stacked piles.
- Pull-Out Trash & Recycling: Put dual bin pull-outs directly beside your prep sink for quick waste disposal.
- Shallow Side-Panel Storage: Utilize the end walls of your island for shallow spice racks, recipe book nooks, or wood dowel plate racks.
8. Choose Custom Accent Colors and Cabinet Finishes
Your kitchen island does not need to match your perimeter cabinets exactly. Treating the island as a standalone furniture piece adds depth and personality to modern kitchen island ideas.
How to Update a Kitchen Island Surface
- Contrasting Paint Colors: Pair white perimeter cabinets with a navy blue, deep sage green, or charcoal black island base.
- Natural Wood Tones: Use rift-sawn oak or warm walnut paneling to introduce rich grain textures.
- Decorative Panel Finishes: Upgrade flat drywall or plain plywood island backs with vertical fluted wood slating, classic beadboard, or custom board-and-batten millwork.
- Waterfall Edge Countertops: Carry quartz or marble slabs vertically down the sides of your island for a sleek, contemporary frame.
Bring Your Kitchen Island Vision to Life
Upgrading your kitchen island improves daily meal preparation, expands storage capacity, and creates an inviting gathering hub for family and guests. Small details like high-pressure spray faucets, dimmable pendant lighting, and dedicated drawer organizers make a huge difference in how your space performs.
Ready to start your kitchen update? Visit your local Coburn’s Showroom to see premium faucets, workstation sinks, cabinetry options, and hardware options in person. Our experienced kitchen design consultants are ready to help you plan an island layout tailored to your home.

